
Quick Summary
Most event logistics delays come from small, predictable gaps such as unclear ownership, late confirmations, and vendor handoffs. Reduce them by building a master timeline that works backward from show day, assigning a named owner to every task, and confirming delivery windows and venue access rules in writing.
- Name one owner for every delivery window and put that name on the timeline.
- Confirm dock times, load-in access, and power needs in writing rather than assuming them.
- Build a checklist for each event phase with deadline and owner columns.
- Write contingency triggers with a specific condition, response, owner, and escalation deadline.
- Hold a 30-minute post-event review to log every delay and update your plans.
Table of Contents
- Why Event Logistics Delays Happen and Where to Look First
- Build a Master Timeline Working Backward From Show Day
- Use an Event Logistics Checklist Organized by Phase
- Coordinate Vendors, Deliveries, and Freight Windows
- Write a Contingency Plan With Decision Triggers and Owners
- Measure Logistics Performance and Run a Post-Event Delay Review
- Book Your Next Event Setup With Flashpoint Logistics
- Frequently Asked Questions
Why Event Logistics Delays Happen and Where to Look First
Most event logistics delays are not caused by one big failure. They come from small gaps that pile up: a truck arrives 40 minutes late, a venue rep isn’t told about a loading restriction, and a vendor shows up with the wrong connector. The fix starts with knowing where delays usually begin.
Event logistics is the coordination of people, equipment, materials, and timing needed to get an event from planning to teardown. When one part slips, every part behind it moves too.
Look first at three weak points:
- Unclear ownership. If nobody owns a delivery window, nobody notices when it’s missed.
- Late confirmations. Dock times, load-in access, and power needs often get assumed instead of confirmed.
- Vendor handoffs. Every handoff between a supplier, a carrier, and an on-site crew is a place where information gets lost.
A common mistake is treating delays as bad luck. Most of them are predictable. If you review the last three events and list every late item, you will likely find the same two or three causes repeating.
Build a Master Timeline Working Backward From Show Day
A master timeline is the single schedule everyone works from. Start with the show date and work backward. Mark the event, then load-in, then equipment arrival, then vendor deadlines, then purchase orders.
Here is how the backward method usually looks:
| Milestone | Target Timing | Owner |
|---|---|---|
| Show day | Event date | Event manager |
| Load-in complete | 1 day before | Production lead |
| Equipment on site | 2 days before | Freight coordinator |
| Shipping dispatched | 3 to 4 days before | Shipping lead |
| Orders confirmed with vendors | 2 weeks before | Procurement |
Put dates and owners in the same place. A timeline without owners is a wish list.
Share the timeline with every vendor and the venue, so each party can see where their work fits.
Use an Event Logistics Checklist Organized by Phase
A checklist helps most when it follows the event’s phases and assigns a name and a clock time to every line. A box with no owner is the most common reason a phase runs over. Build five lists, each with a deadline column and an owner column, and review the list at the start of each phase.
Planning phase (8 to 12 weeks out)
- Lock event dates and venue access hours in the contract, not in email
- Name one decision-maker per vendor and put that name on the timeline
- Set budget approval limits and the person who can release emergency spend
- Request the venue’s written access rules: dock hours, truck size limits, elevator reservations, certificate of insurance requirements, and labor rules
Pre-event phase (2 weeks to 3 days out)
- Confirm every delivery window in writing with a specific time, not a range
- Match equipment counts against the packing list and photograph the packed crates
- Test power, rigging points, and technology before the crew arrives, and log the results
- Send each carrier the venue address, gate code, dock contact phone number, and access rules
Load-in phase (day before through show morning)
- Check dock and elevator bookings against the venue’s written schedule
- Confirm who signs for each delivery and where the signed paperwork goes
- Log damaged or missing items within 15 minutes of unload and notify the supplier the same day
- Sequence load-in by dependency: rigging and power first, then technology, then set dressing
Event phase (show day)
- Keep a spare-parts kit on site with connectors, gaff tape, and backup power cables
- Assign one person to handle real-time issues and give that person a radio channel and a phone
- Hold a 10-minute stand-up two hours before doors to confirm every crew’s status
Teardown phase (show close through load-out)
- Schedule vendor pickups before the event ends so trucks are booked, not requested
- Count returnable items before they leave the building and photograph the loaded truck
- Confirm the venue walkthrough and damage report before the last crew leaves
Watch out: a checklist that is not reviewed at the start of each phase becomes a document nobody opens. Assign one person to read the next phase’s list aloud at every phase transition. To learn how to manage pyrotechnic inventory effectively so stock is ready on time, review that guide before the planning phase begins.
Coordinate Vendors, Deliveries, and Freight Windows
Vendors and freight carriers run on their own schedules. Your job is to make those schedules fit yours. For guidance on how supply logistics for live events are handled, see Pyrotechnic Supply Logistics for Live Events. The best way to do that is to confirm everything in writing, early, and with specific times.
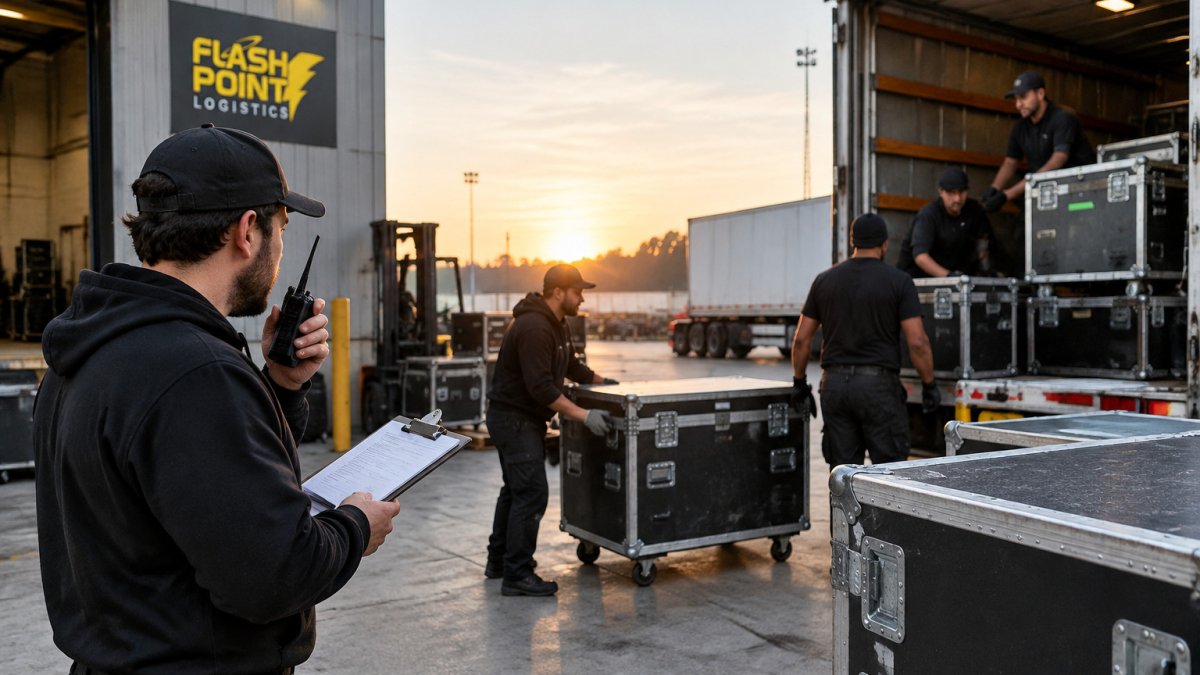
Ask each supplier for:
- The exact pickup or ship date
- The carrier name and tracking reference
- The estimated arrival window
- Who to call if the shipment is late
When you need same-day product shipping or a rush delivery, confirm the cutoff time with your supplier. You can compare same-day shipping options for stage effects before you place the order. Missing a cutoff by an hour can add a full day.
Confirming Venue Access and Loading Restrictions
Venues often have rules that don’t appear in the initial contract. Some limit truck size, restrict loading to certain hours, or require a certificate of insurance before any delivery. Ask the venue manager for a written list of access rules, dock hours, and elevator availability.
Watch out: a loading restriction that nobody mentioned can turn a 30-minute unload into a 4-hour delay while a new route gets arranged.
Send the access list to every carrier before they dispatch. Confirm that the driver has the venue address, the gate code, and the dock contact’s phone number.
Setting Communication Protocols and Escalation Steps
Good communication is simple to set up but easy to skip. Decide before the event who gets a message when something goes wrong, and by what channel.
A basic protocol looks like this:
- The vendor or driver reports the issue to the on-site lead within 15 minutes.
- The on-site lead decides whether to fix it locally or escalate.
- If the delay will push a deadline, the event manager is notified immediately.
- The event manager updates all affected parties with a new time.
Write this down and share it with everyone. Escalation is faster when people already know who to call.
Write a Contingency Plan With Decision Triggers and Owners
A contingency plan tells your team what to do before a problem happens. The key is the decision trigger: a specific, observable condition that starts a specific response, with a named owner and a time limit. A plan that names who acts, when to escalate, and what backup to activate is what makes it usable at 6 a.m. on load-in day.
Build each trigger in four parts: condition, response, owner, and escalation deadline. Keep the list to five to eight triggers so the team can remember them.
| Trigger condition | Response | Owner | Escalate if not resolved in |
|---|---|---|---|
| Truck more than 90 minutes late to dock | Pull backup stock from local warehouse; reroute carrier | Freight coordinator | 30 minutes |
| Power test fails day before load-in | Activate backup generator order; notify production lead | Production lead | 60 minutes |
| Vendor confirms short shipment | Source substitute from secondary supplier; adjust run of show | Procurement lead | 2 hours |
| Dock access blocked or double-booked | Move to secondary loading window; notify venue manager in writing | On-site lead | 15 minutes |
| Key crew member no-show | Activate standby list; reassign tasks from the phase checklist | Event manager | 30 minutes |
| Weather closes outdoor load-in | Shift to covered staging area; revise load-in sequence | Production lead | 45 minutes |
Write the escalation path next to the table so nobody has to guess. For outside help with safety and compliance planning, see Explosives Consulting. A common pattern is a three-step chain: the on-site lead resolves locally within 15 minutes, the event manager is notified if the delay will push a deadline, and the event manager updates all affected vendors and venue contacts with a new time. Put names and phone numbers on the chain, not job titles alone.
Review the plan with every owner during the planning phase and have each owner confirm the role in writing. After each event, compare actual delays against the trigger list: any delay that happened without a matching trigger is a gap to add, and any trigger that never fired in three events may be too narrow or too broad.
Watch out: a contingency plan that lists risks without owners and deadlines turns into a discussion during the delay instead of a decision. The trigger table is only useful if the owner’s name and the escalation clock are filled in before the event.
Measure Logistics Performance and Run a Post-Event Delay Review
You can’t reduce delays you don’t measure. Track a few simple numbers for every event:
- On-time delivery rate for vendors
- Number of load-in delays longer than 30 minutes
- Number of items missing or damaged on arrival
- Hours of overtime paid to crews because of schedule slips
After each event, hold a 30-minute review. List every delay, its cause, and whether it was predictable. Then update the timeline, checklist, or contingency plan so the same delay doesn’t happen again.
Book Your Next Event Setup With Flashpoint Logistics
Reducing event logistics delays takes planning, clear owners, and honest reviews after every show. Flashpoint Logistics supplies stage effect equipment, confetti, streamers, powder products, and expert support for live event and pyrotechnics teams. Pricing depends on quantity, dates, and delivery, so visit the Flashpoint Logistics website for current prices or to request a quote.
Frequently Asked Questions
How do you prevent event logistics delays?
Most delays come from missed handoffs rather than bad luck. Build a master timeline working backward from show day, assign one owner to each deliverable, and confirm every vendor’s arrival window at least a week out. Hold a short check-in at each phase gate, and do not let a phase close until its items are verified on site. Tracking these gates in one shared document makes slippage visible while there is still time to recover.
What are the most common causes of event logistics delays?
The usual culprits are late equipment orders, venue loading restrictions that were never confirmed, vendors arriving without current credentials, and freight that misses its delivery window. Weather and transport disruptions also cause delays, but they are easier to absorb when the schedule has buffer built in. Reviewing past events for these recurring causes is the fastest way to find where your own process breaks down.
How far in advance should event equipment be ordered?
Lead times vary by equipment type, quantity, and season, so confirm them directly with your supplier. Peak event months compress availability, so ordering earlier protects you from substitutions. For pricing and availability on the products you need, check the Flashpoint Logistics website or request a quote, since costs depend on quantity, dates, and delivery method.
What should an event logistics checklist include?
A useful checklist is organized by phase: pre-event (contracts, permits, venue access, vendor confirmations), load-in (delivery windows, sequencing, safety walkthroughs), show day (staffing, communication channels, real-time tracking), and teardown (inventory retrieval, vendor exits, venue penalty avoidance). Each item should name an owner and a deadline. Keeping the checklist short and phase-specific makes it far more likely that crews will actually use it.
